You can find the menu entry “Manage list view” in every module of ingenious v12.
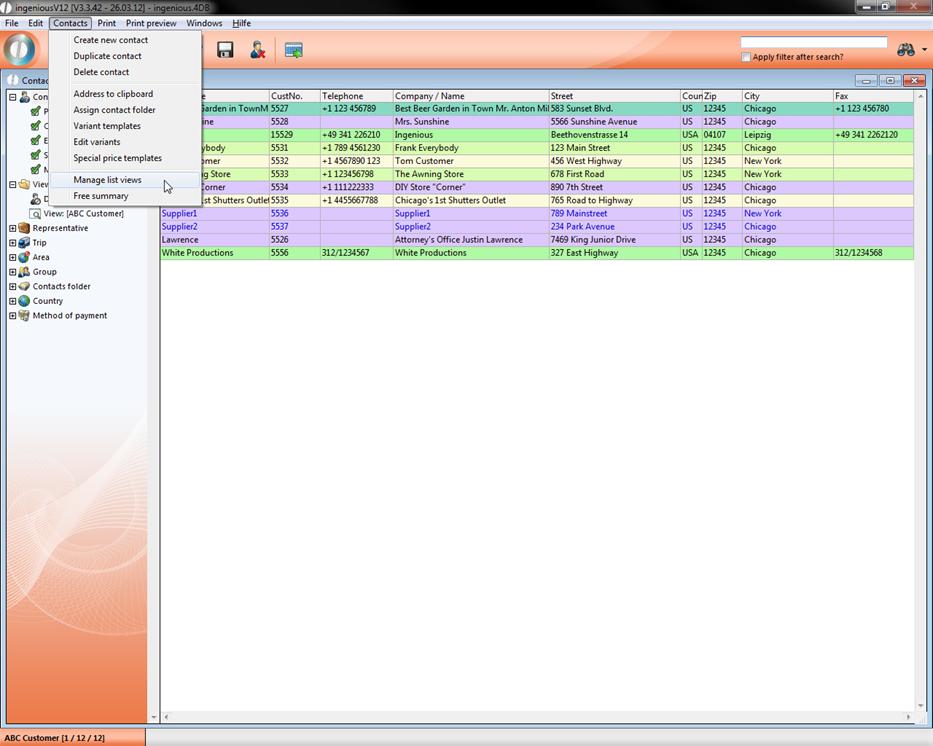
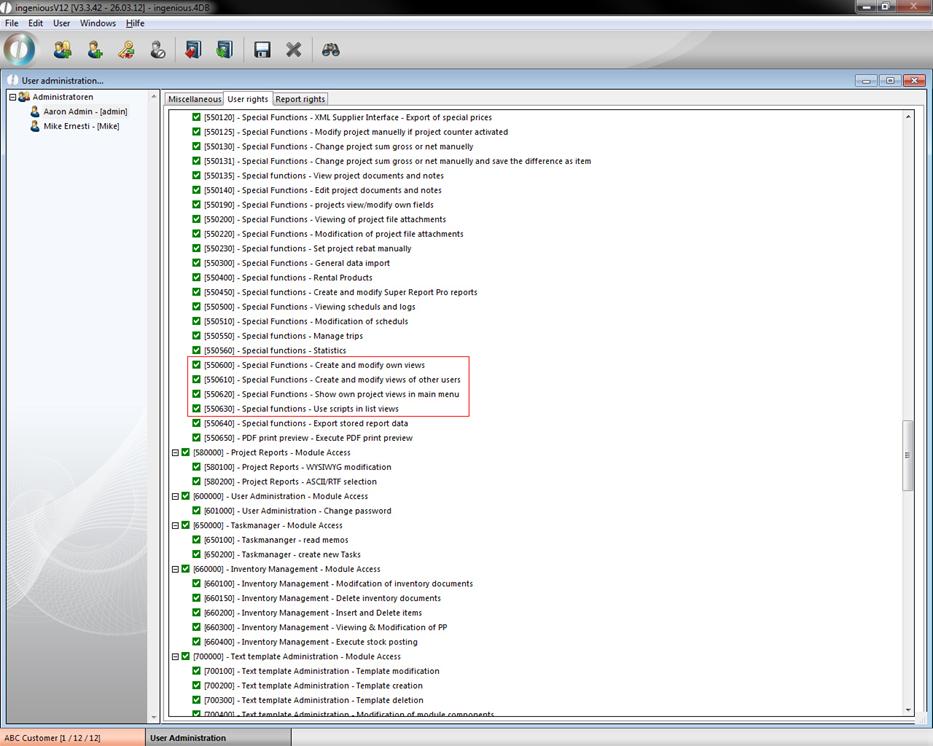
The specific user rights in the user administration have to be activated to make the menu entries visible.
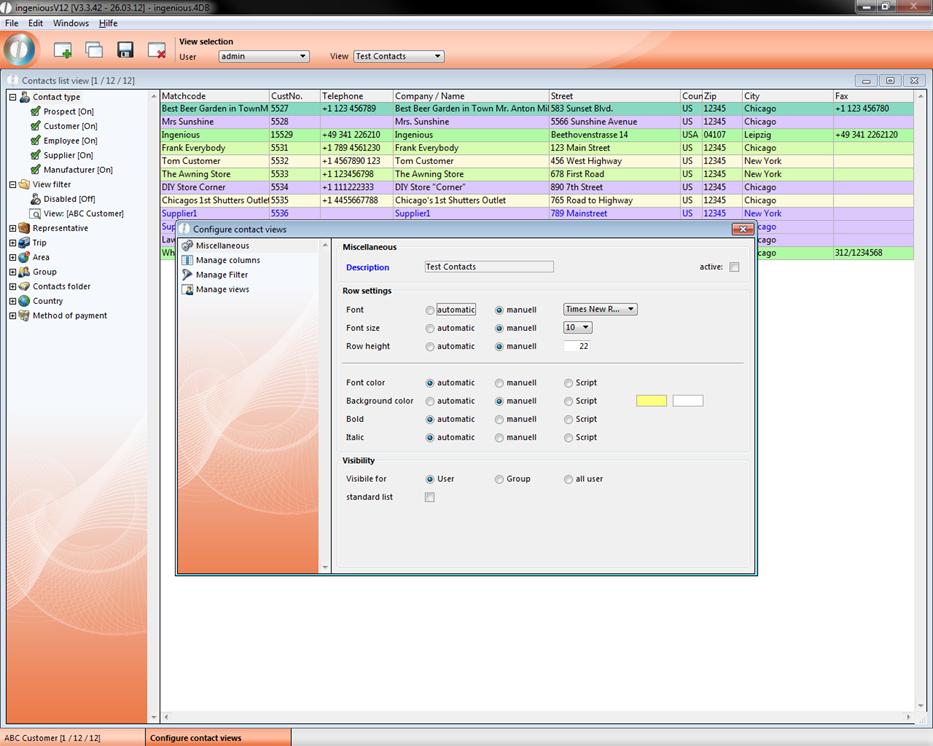
By clicking the menu entry a window will open up, where you can create a new list view or choose an existing in the popup field “View”. In the data selection area “Miscellaneous” you can name and de-/activate the list.
Here you can change several row settings. When you choose the option “automatic” the basic settings of ingenious.v12 will be used. The option “manual” will open the specific edit area, where you can customize the desired setting.
In the color settings just double click the rectangle and a color table will open up, where you can make your choice.
Furthermore it is possible to assign an individual script from the “free data manipulation” in some row settings.
In the “Visibility” group you can adjust, who can use the created list view (only you, your user group or everyone).
In “Manage columns” you can customize several column settings. Add/delete a column by clicking ![]() respectively
respectively ![]() . The name of the column and the standard with (pixel; initial value is 0 (=dynamic width)) can be set individually.
. The name of the column and the standard with (pixel; initial value is 0 (=dynamic width)) can be set individually.
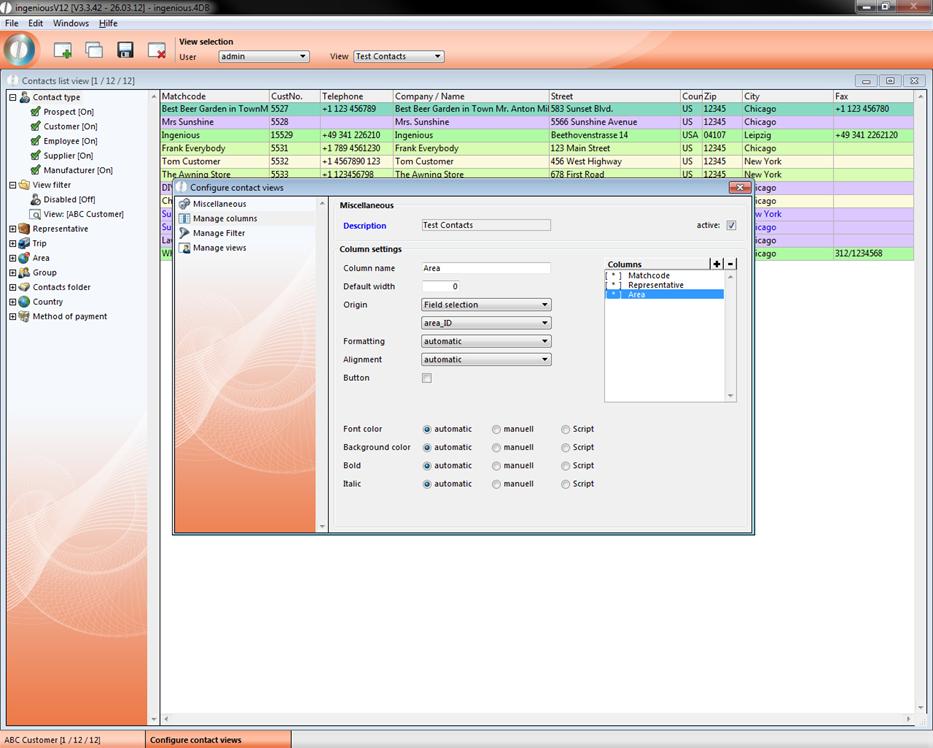
In the group “origin” the content of the column is defined. In the first popup field you can choose between predefined columns, field selection and script. In the second popup field you can specify your choice.
The example shows a configuration with three columns “Matchcode”, “Representative” and “Area”.
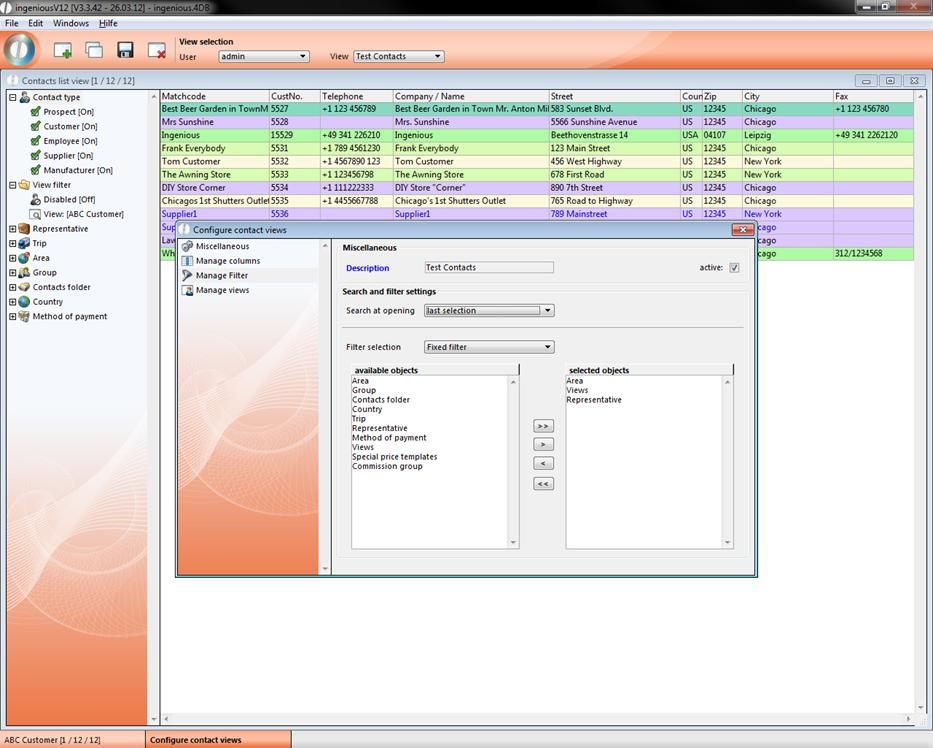
In the third data selection area, “Manage Filter”, you can customize filter- and search settings of the list view. In the popup field “Search at opening” you can determine which list items should be displayed after opening it.
You can choose the content of the selection area in the field “filter selection”. According to the selected option the available items will be listed in the area below.
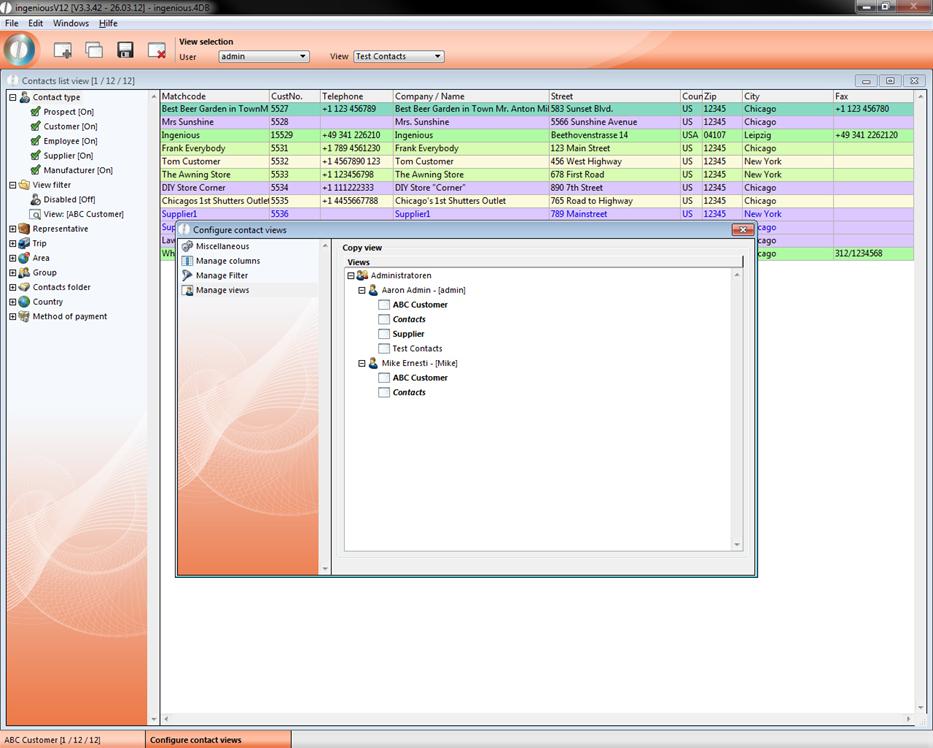
The last category “Manage views” is only available when the user right “[550610] – Special Functions – Create and modify views of other users” is activated. Here you can copy the list view simply by drag and drop and assign it to the specific user. According to the type of use the list views are displayed in a different style (normal = a user, bold = all users, italic = inactive list). To display the own list view in the main menu, the user right “[550620] – Special Functions – Show own project views in main menu” has to be activated.
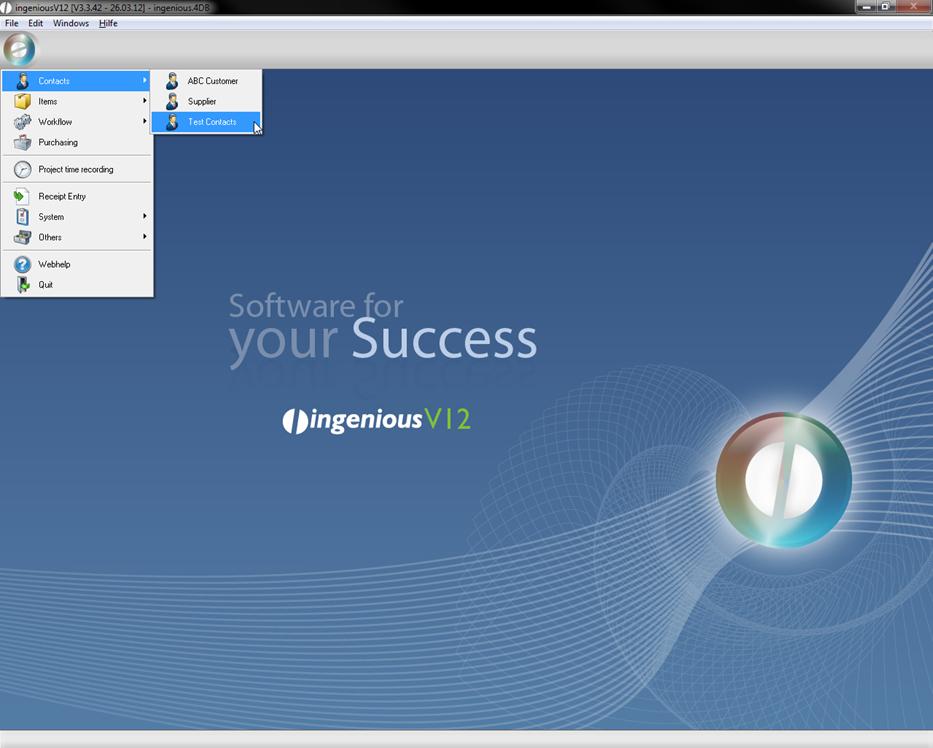

Example of a list view
To delete a list view you have to select the user and the specific list in the icon bar and click ![]() “Delete view”.
“Delete view”.